Product Photography

Product Photography Service in Singapore
Product photography uses techniques to showcase products in an enticing and informational manner. But how do you portray quality and value in a single photo? High quality product images are needed to show people what they would be getting when purchasing a specific item. In fact, 93% of consumers consider images essential in purchasing decisions.
There are two types of product photography – product-only images and in-context images. For both types of shots, make sure that your product photos are realistic.
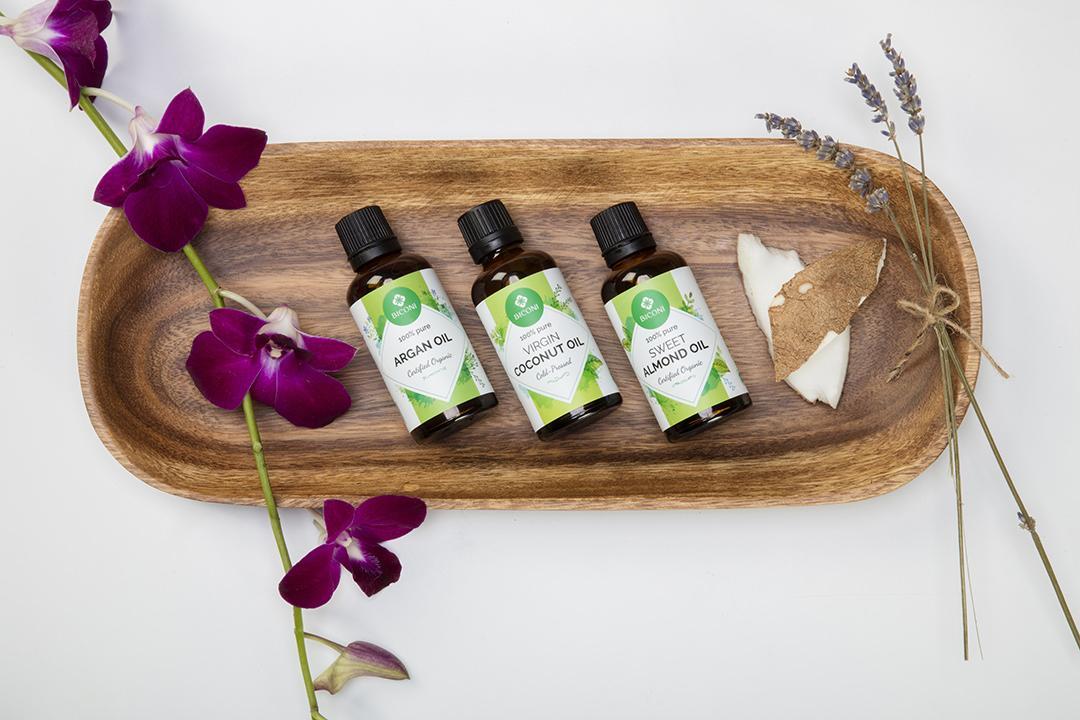
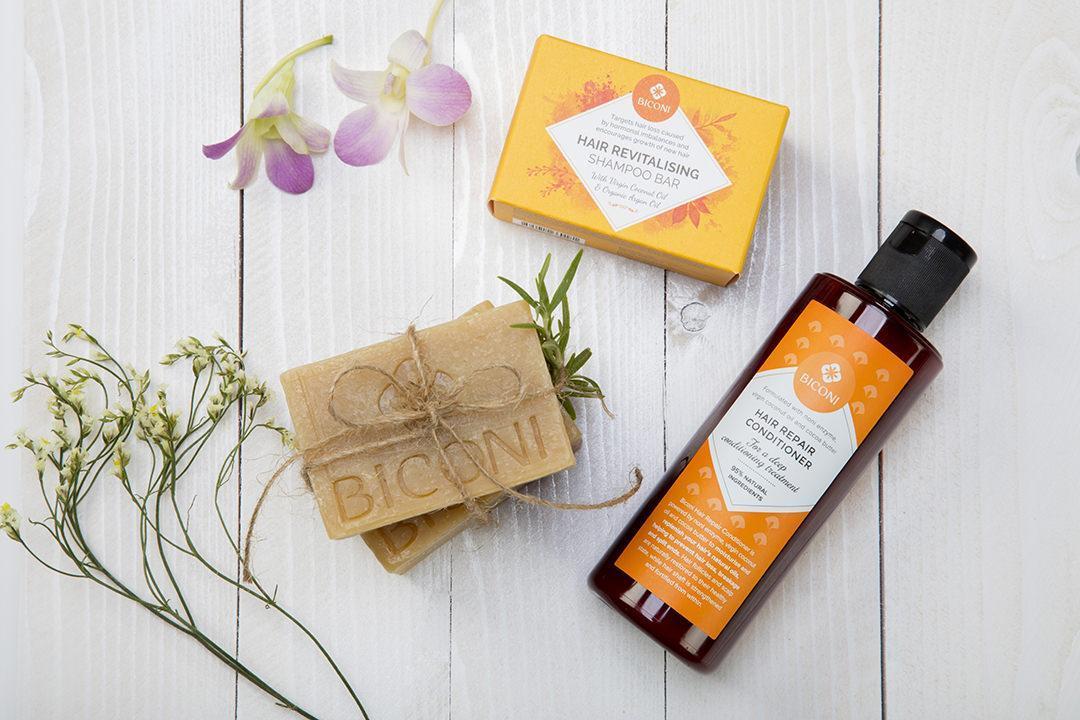
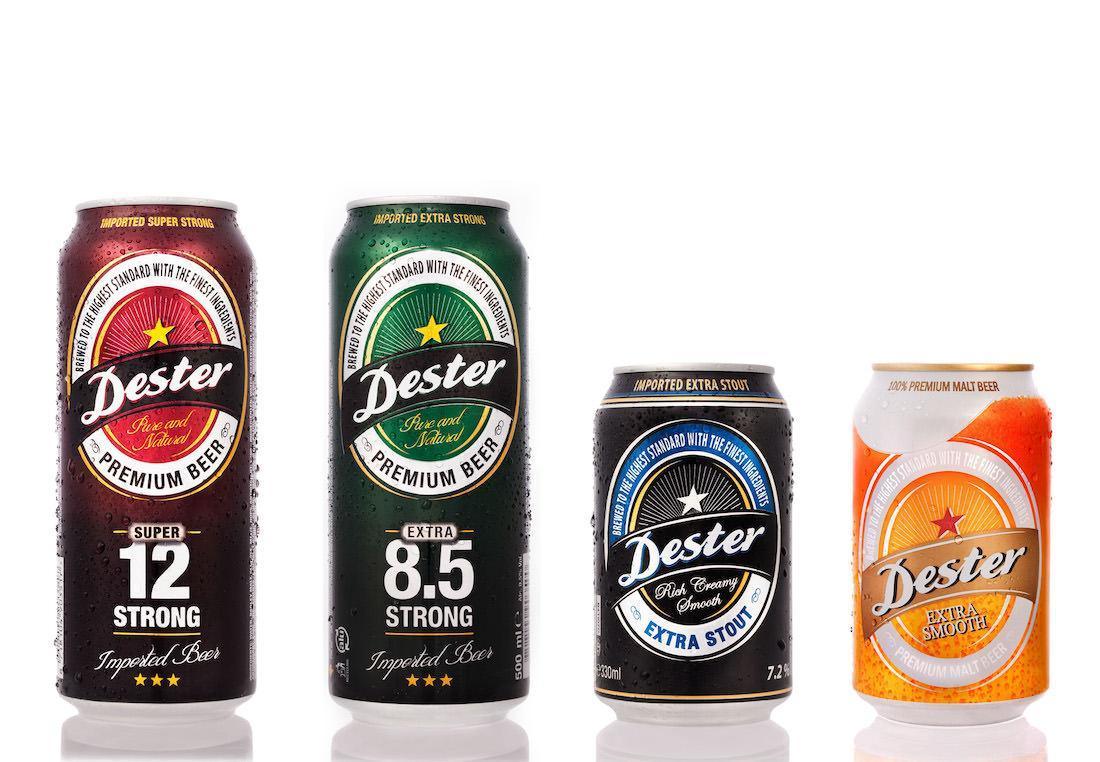
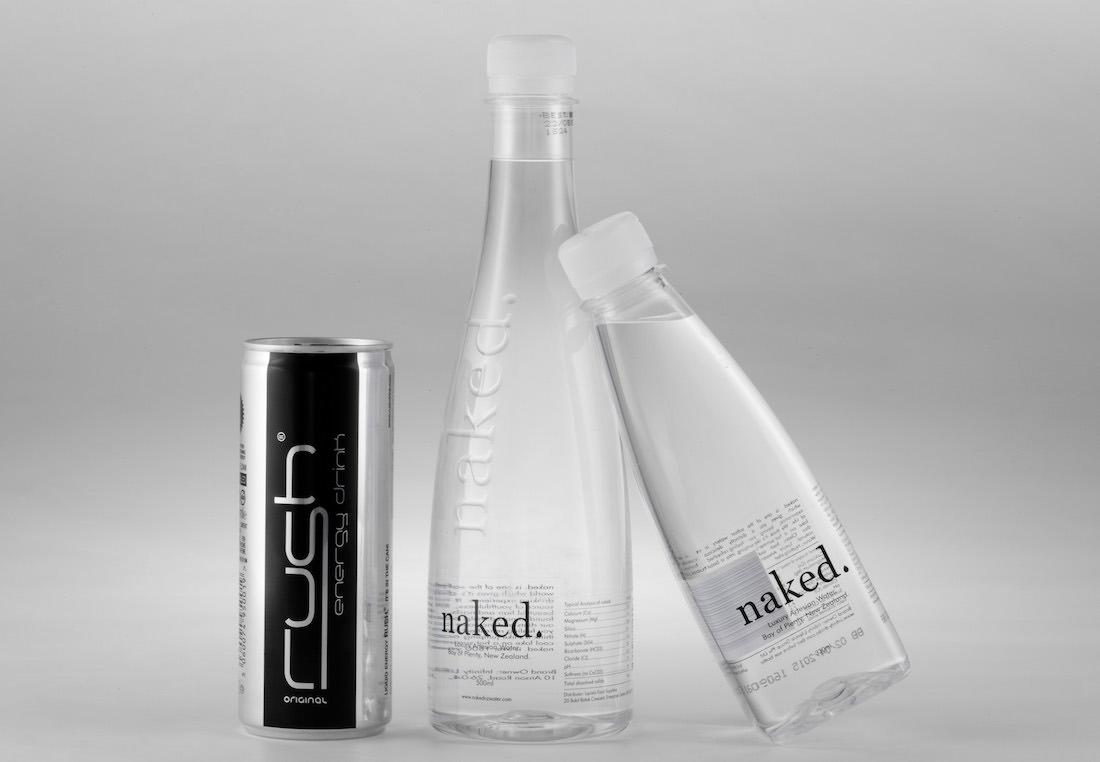
Product Only Images
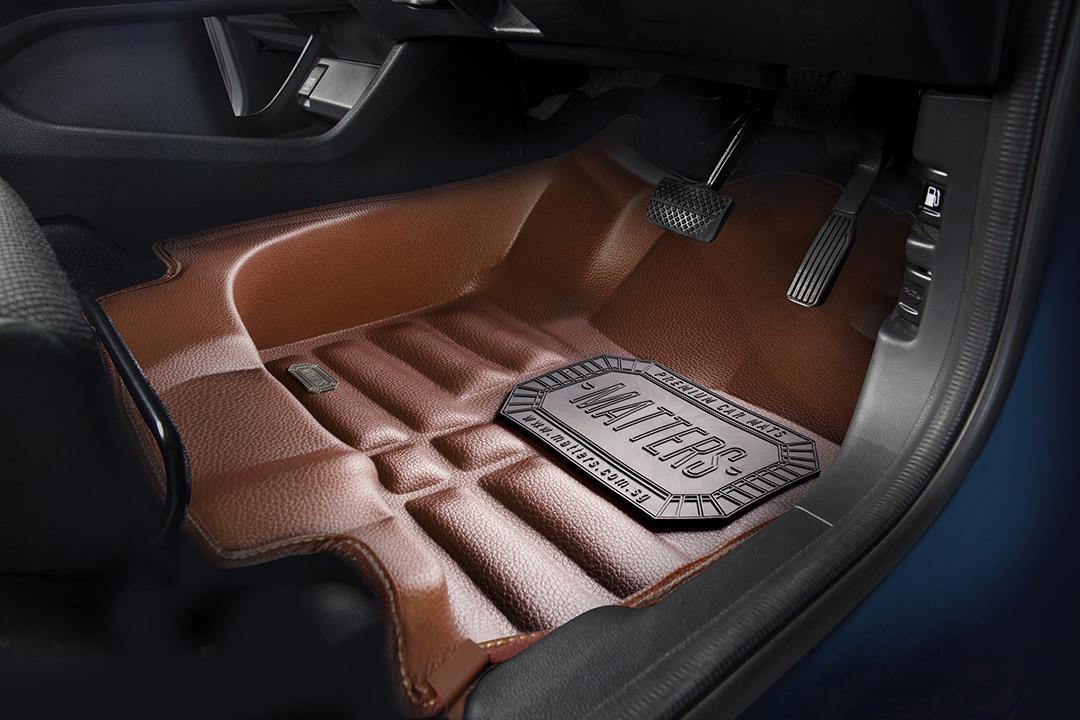
Product only images are images of just the product. Many online retailers prefer a clean, seamless white background for product only shots. Other clients may like a more environmental shot for their products to give more visual interest and depth.
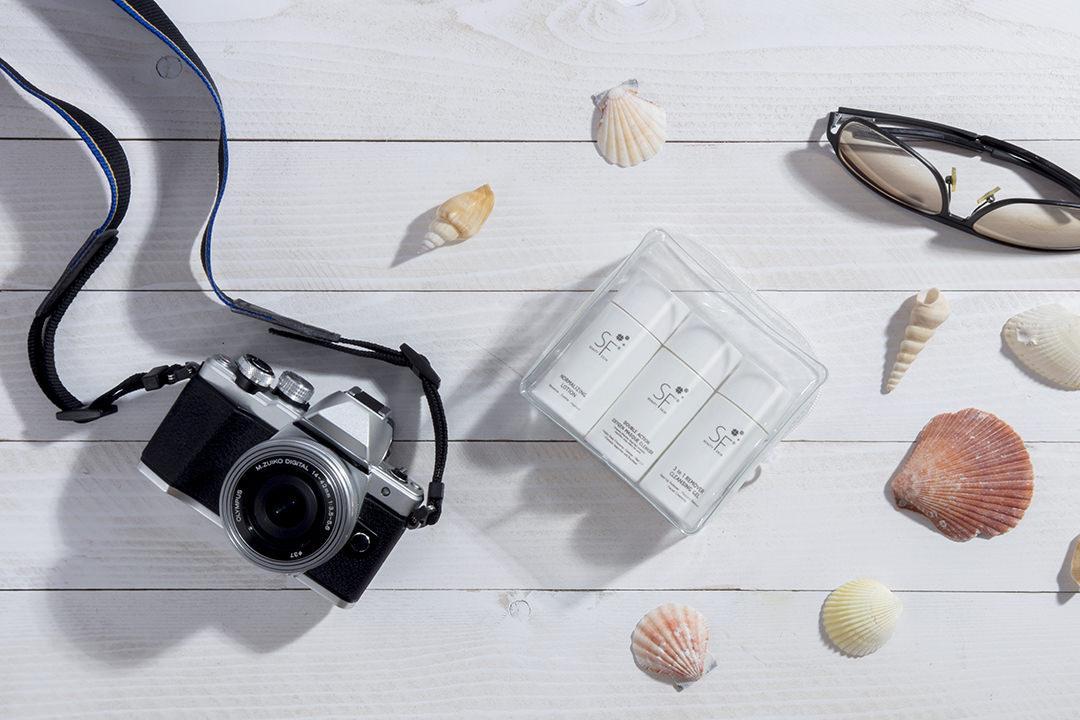
Lifestyle Images
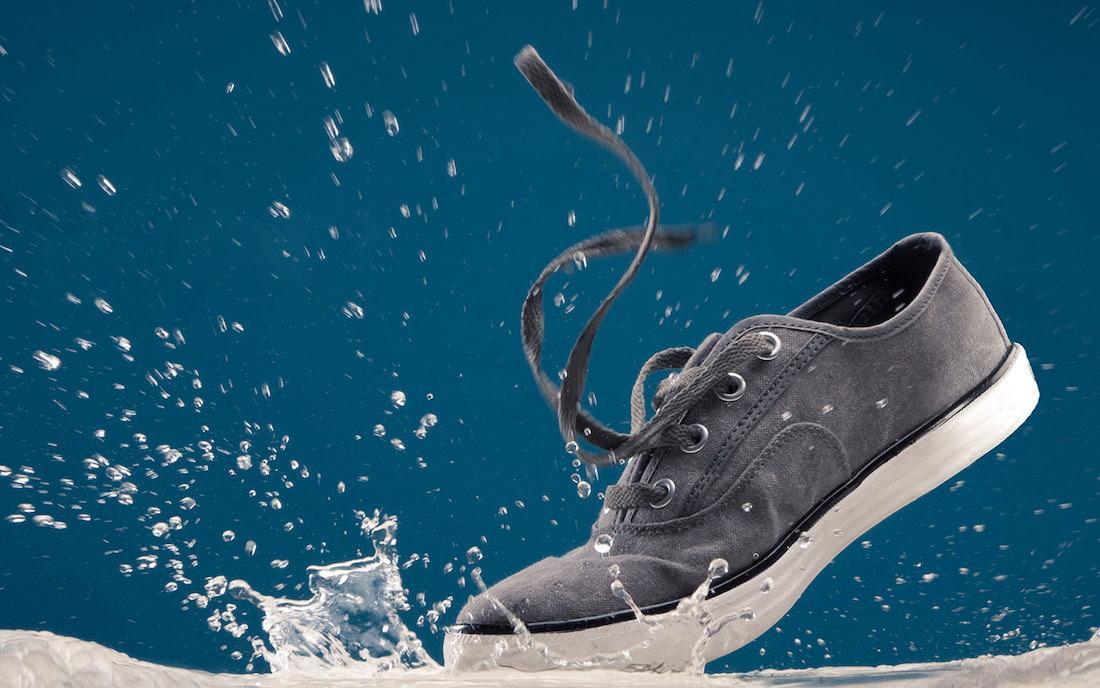
Lifestyle images show the product at work in real life, often being worn or used by people. They are aimed to evoke emotion and boost engagement with the product. Every time you see product shots in magazines, brochures, or catalogs, you think about how they are done or even where the shots are taken.
Always Shoot with a Detailed Plan in Product Photography
If you’re selling on Amazon/ Lazada/ Qoo10 or showcasing your products on social media, there are very detailed specifications each photo must fulfil. Similar to other e-commerce platforms, each of these platforms has a variety of requirements for photos. Before you start a product photography shoot, integrate these specifications into your plan so you are ready to upload the photos right after they’re retouched. So You have to begin to imagine the process involved.
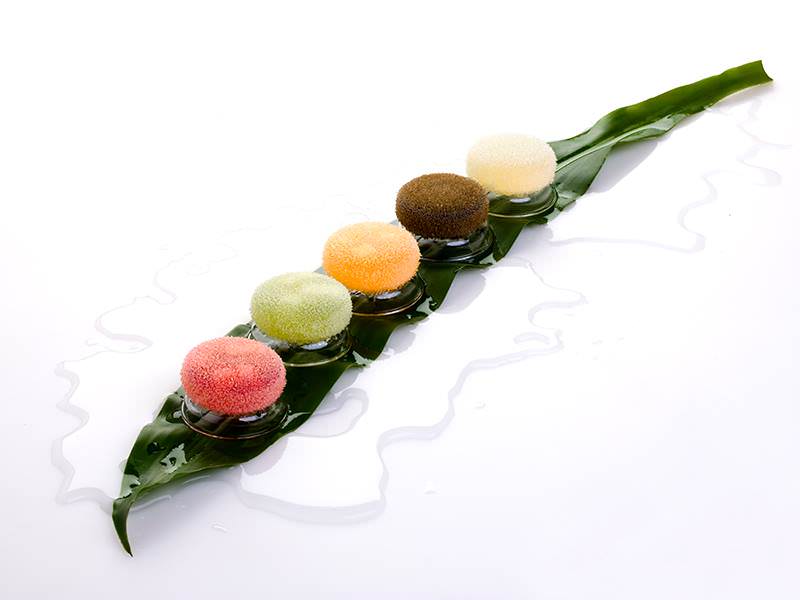
First, you must choose between natural light or artificial light. Natural light is light that comes from sunlight, even if it’s through a window. Since you cannot control the level of natural light, using tools like the lightbox, a white background, or a bounce card can help control the light. It’s always better to have too much light than too little. However, do not shoot outdoor images under direct sunlight as this can create harsh shadows and lower image quality. So ensure that lights are evenly distributed and colours clearly reflected before shooting.
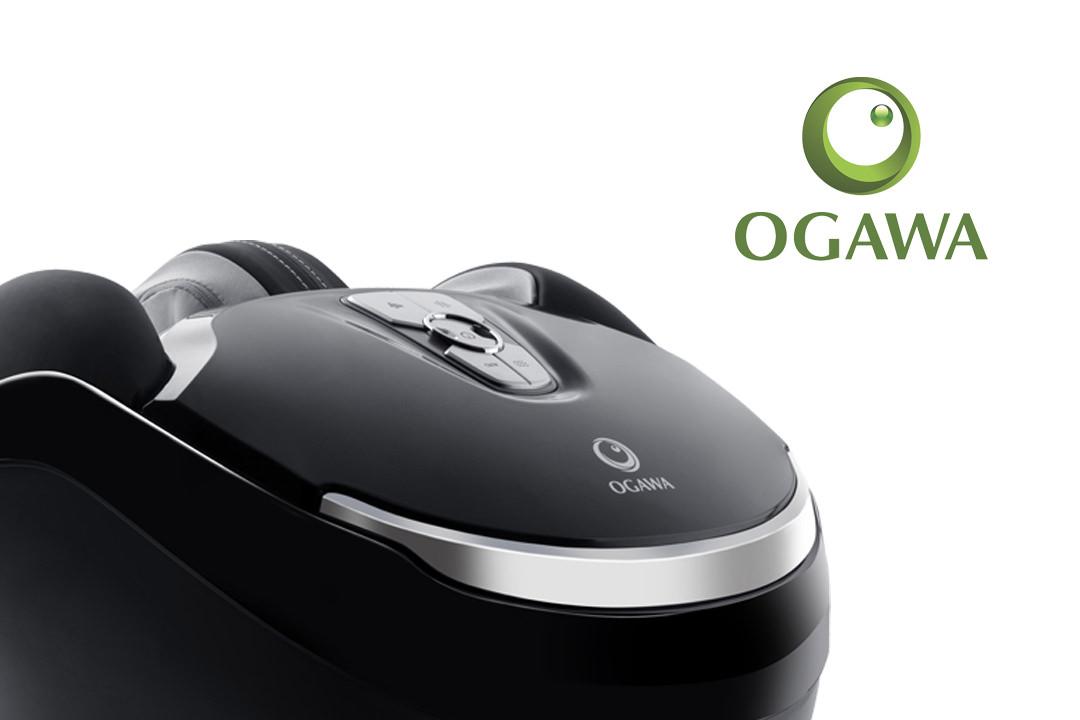
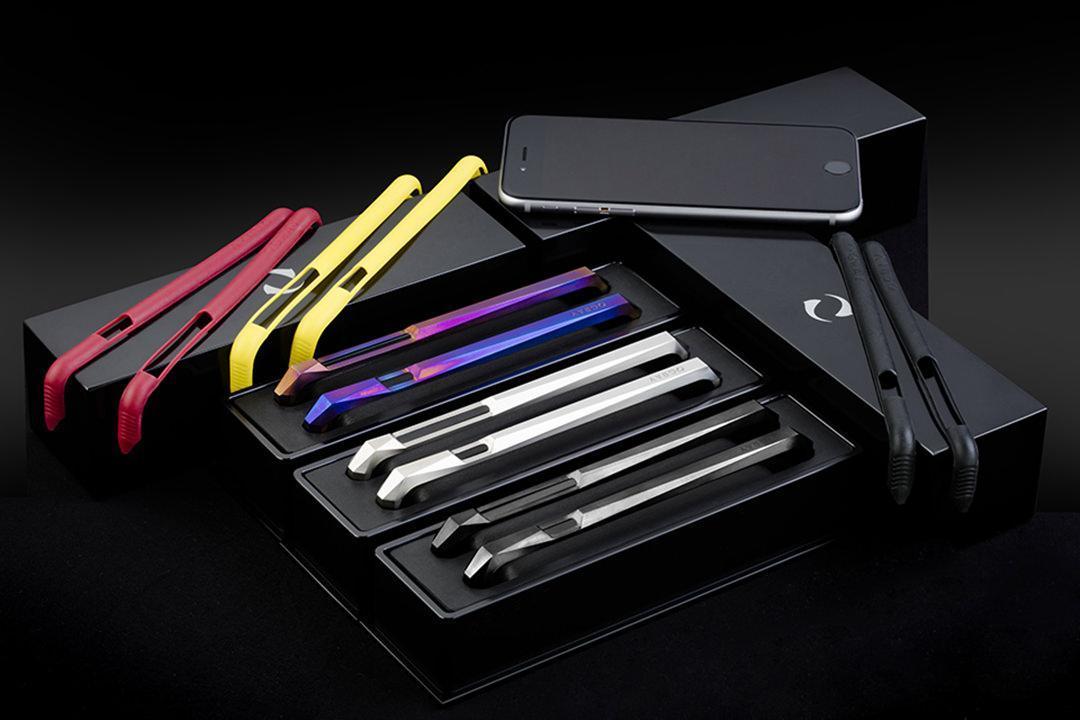
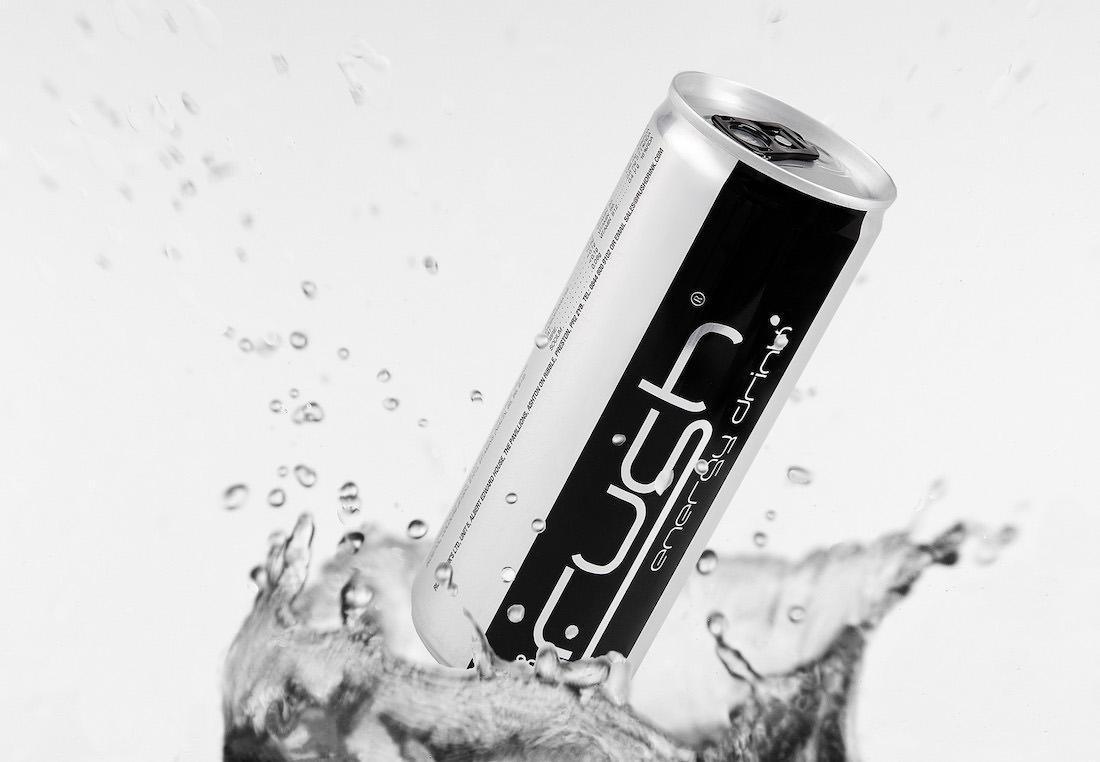
Proper lighting is one of the main differences between professionally-created and amateur photography, and tends to be the main thing holding new photographers back. Colour strongly affects the look and feel of product photography. Your choice for intensity depends a lot on the background of your photos. As a rule of thumb, more harsh light is best if you’re planning to use a black background, so that the product stands out from the background.
Your images should represent the true colour of any product. A colour checker ensures colours are accurate and can correct for differences in lighting and even editing. Whilst image texture refers to the distribution of colour features in a photograph. The best eCommerce product images feature colours that do not fade even when the customers use the zoom-in and out functionality.
Whatever you do, do not begin a shoot without making a detailed plan. Is it as simple as setting up the scene and clicking away? Or are there more complicated steps to follow? Product photography may look simple, but it’s not really as easy as reciting the ABCs. A lot of hard work, skills and techniques go into every shot. Creativity is also a big factor.
But what is the best lighting to use for product photography? That depends on your product and your client. Good lighting will do more to improve the quality of your photos than anything else, so before you go drop a thousand dollars on a new DSLR and your lighting setup is squared away.